
The Author’s library is where all the stories that you, as an author, have written and are collected. Some of this stories might be complete, others not, some might be shared publicly others not. That will be the decision of each authors. Nevertheless all the author’s stories are located in this space: the author’s library.
In this post we will cover three important aspects of the author’s library:
- Create your first story’s cover.
- Navigate inside the author’s library with several story’s covers.
- Get inside a story cover to write your story
Create your first story’s cover
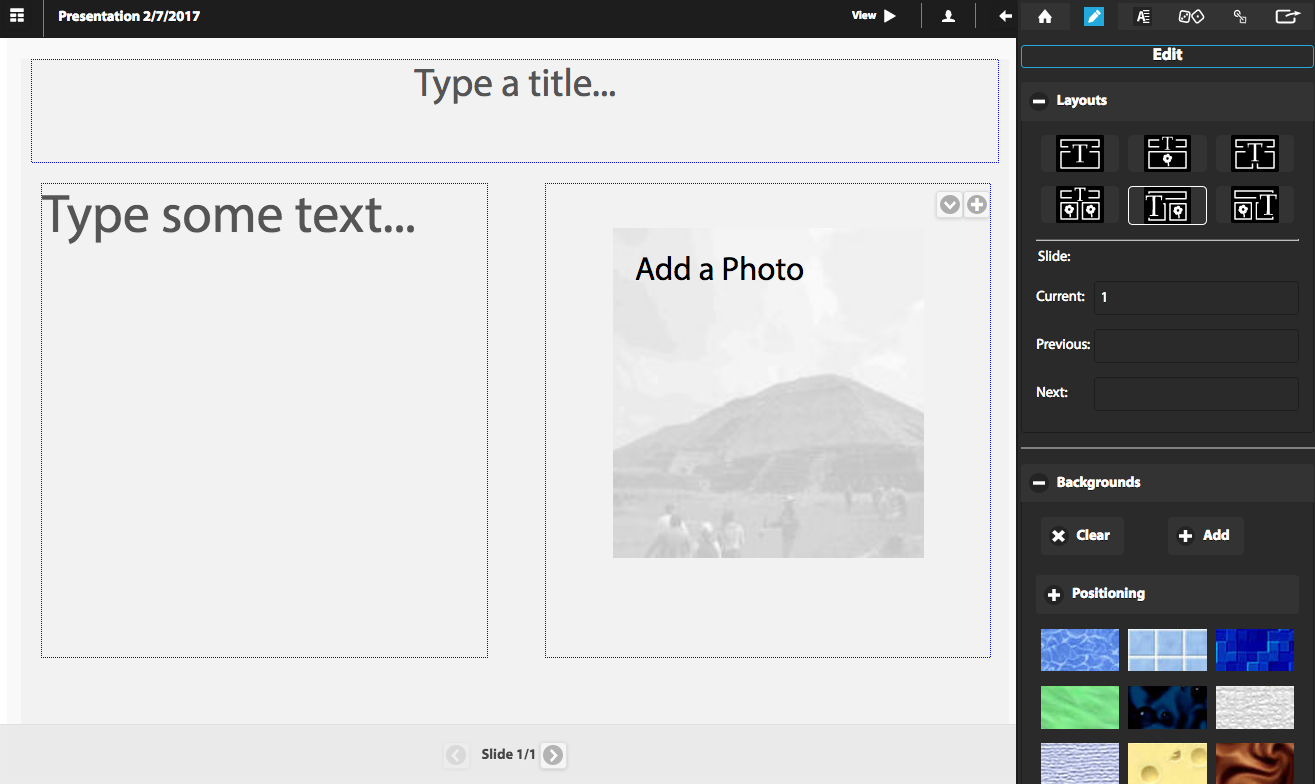
The first time you login into the MINE editor, it will look something like this:
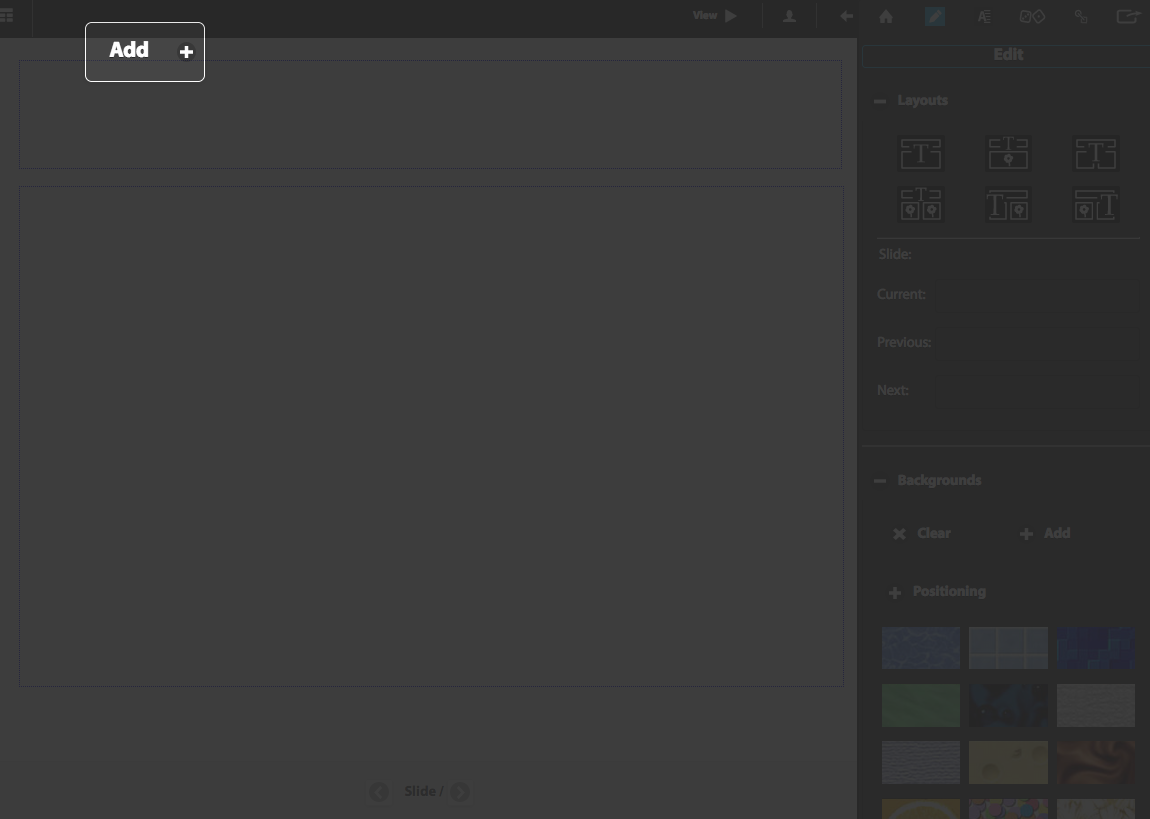
Library of my stories as an Author
As you can see, the screen is almost completely empty.
If you click to the button “Add” a rectangle will show up with the day when you push it. This rectangle is actually the cover of a story.
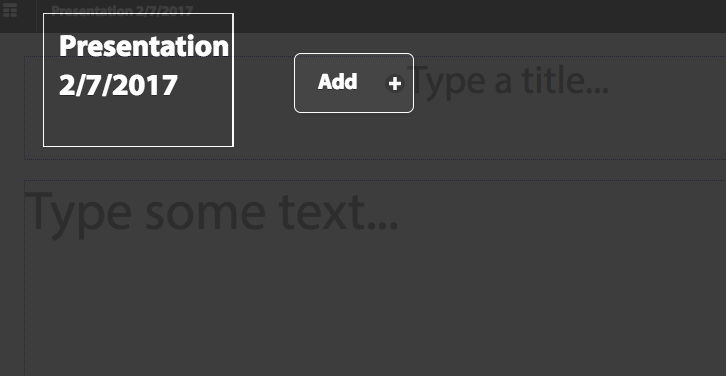
For example, today 7 of February of 2017 I am writing this instructions and I push the “add” button from my author’s library from a fresh new account. Then, a rectangle with the text: “Presentation 2/7/2017” shows up.
I am able to change this text when I write the title of my story.
Navigate inside the author’s library with several stories
If you are prolific author, then you will be able to find several stories inside your author’s library. It might look something like this:

From the previous photo you might deduce that each “rectangle” is a story’s cover. For example, we can read: “2015 October Trip”, “A short Story”, etc.
Also from the previous photo we can realize there are more stories than the ones we are able to look at this precise moment. We know this because we cannot see the “add” button, to add a new story’s cover. The “add” button is always located at the end of all my stories. Thus to skim through the titles of all my story’s covers I need to scroll from right to left on the area where the rectangles are located.
Get the mouse close to the scrolling area and it will transform itself into a cross:
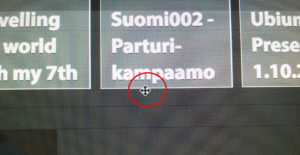
Once your mouse is a “cross” start scrolling from right to left. In the example I will scroll until I find the “add” button. Once I am at the “add” button, I know I am at the end of our library.


Get inside a story cover to write your story
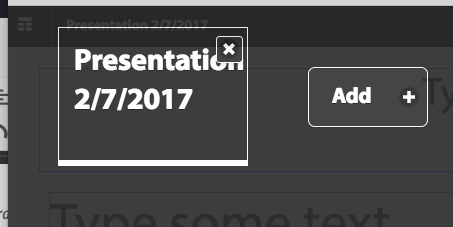
First you need to select from the author’s library the story’s cover you want to work with. You select it by giving one click on that particular rectangle. Then this story’s cover gets selected and we know this because it is highlighted with a white “thick” line.
To unveil the working area, to write your story, you can do through two possible ways:
- By making a second click above the story’s cover selected
- By clicking on the black area below the roll where all the story’s covers are located.
Then you will be ready to write your story:
Next lecture is to get familiar with the type of pages you have to write your story.